Lime pudding cake recipe
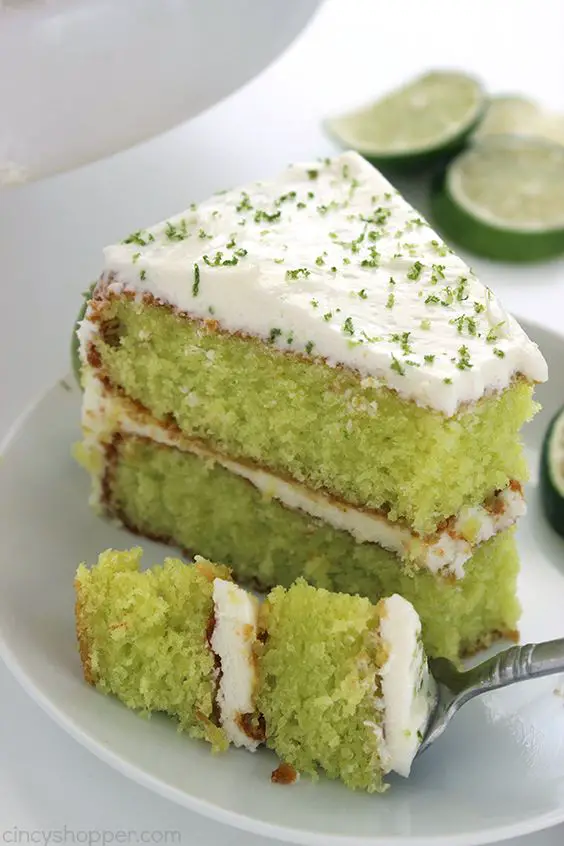
Introduction: Lime pudding cake recipe. This delightful dessert features a light and fluffy cake layer on top with a creamy lime pudding layer underneath. With the perfect balance of citrus …
Introduction: Lime pudding cake recipe. This delightful dessert features a light and fluffy cake layer on top with a creamy lime pudding layer underneath. With the perfect balance of citrus …
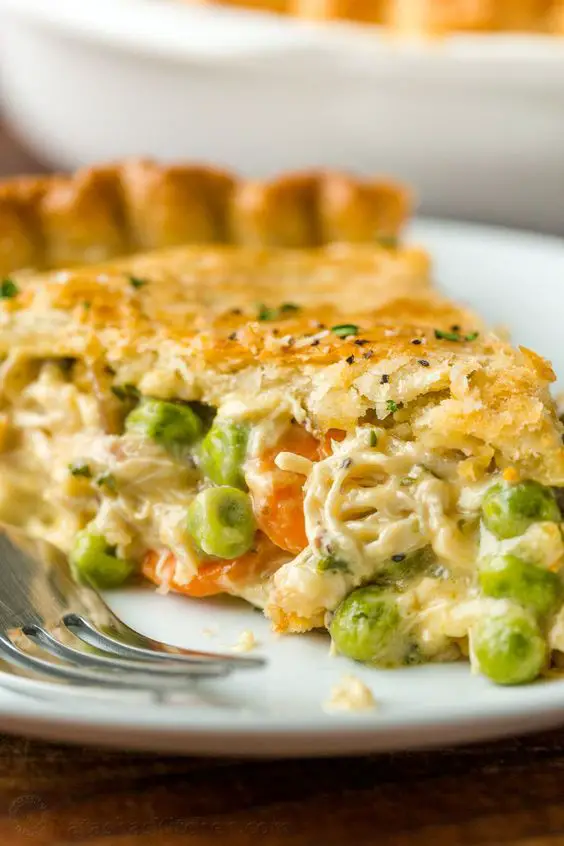
Introduction: Blender chicken pie recipe offers a convenient and delicious way to enjoy a classic comfort food favorite. By using a blender to create a creamy filling, you can effortlessly …
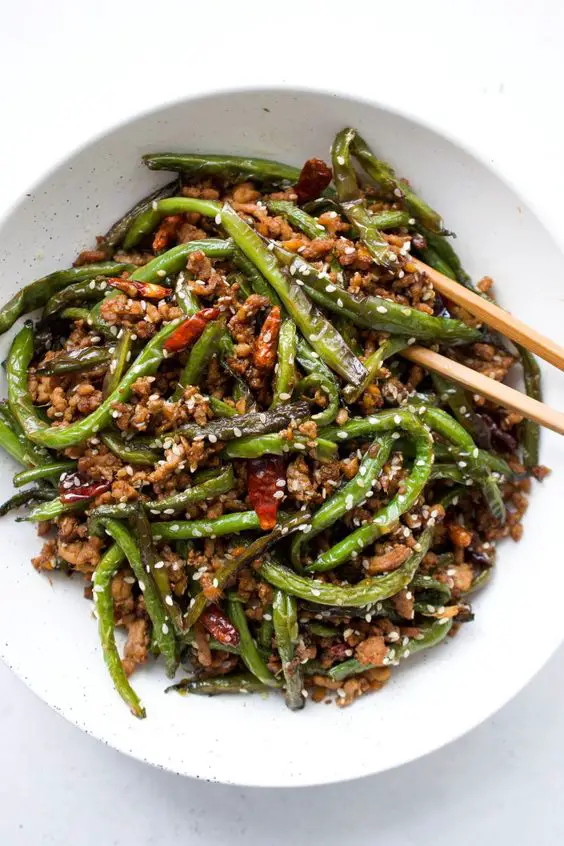
Introduction: Pork with dry pressed tofu and green beans recipe. This dish combines tender pork, crispy dry pressed tofu, and fresh green beans stir-fried in a delicious sauce. Packed with …
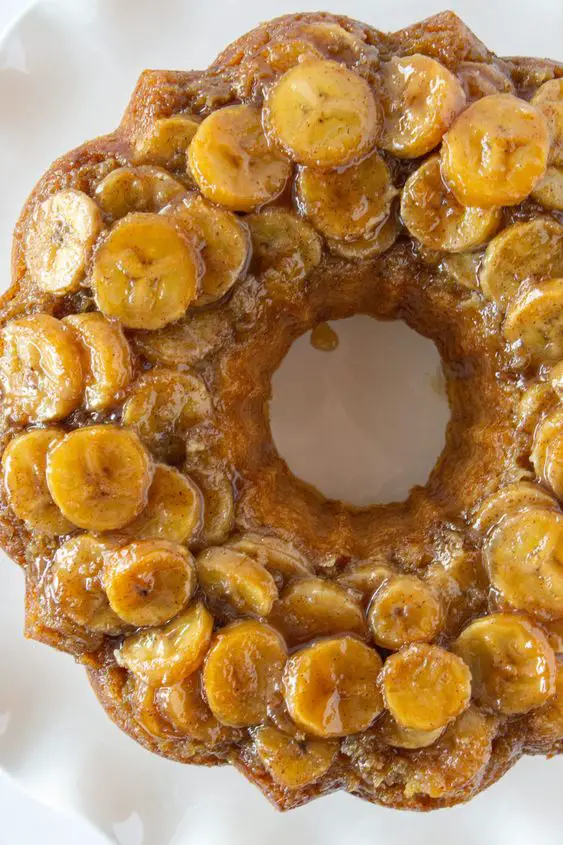
Introduction: Banana upside down cake recipe. This moist and flavorful cake features ripe bananas caramelized with brown sugar, creating a decadent topping that pairs perfectly with the tender cake crumb. …
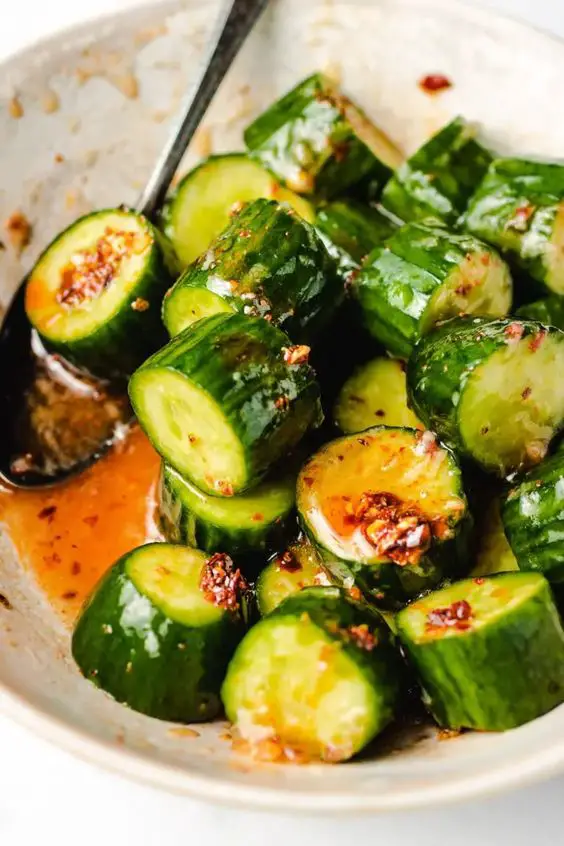
Introduction: Chinese cucumber cold dish recipe. This simple yet delicious dish features crisp cucumbers tossed in a flavorful dressing, making it the perfect appetizer or side dish for any meal. …
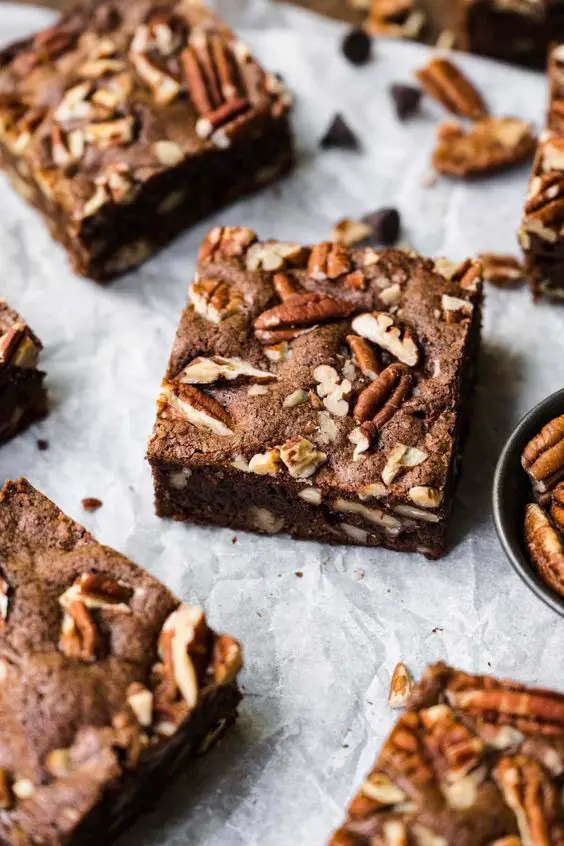
Introduction: Georgia pecan brownie recipe, These rich and fudgy brownies are studded with toasted pecans, adding a delightful crunch to every bite. Perfect for satisfying your chocolate cravings or impressing …
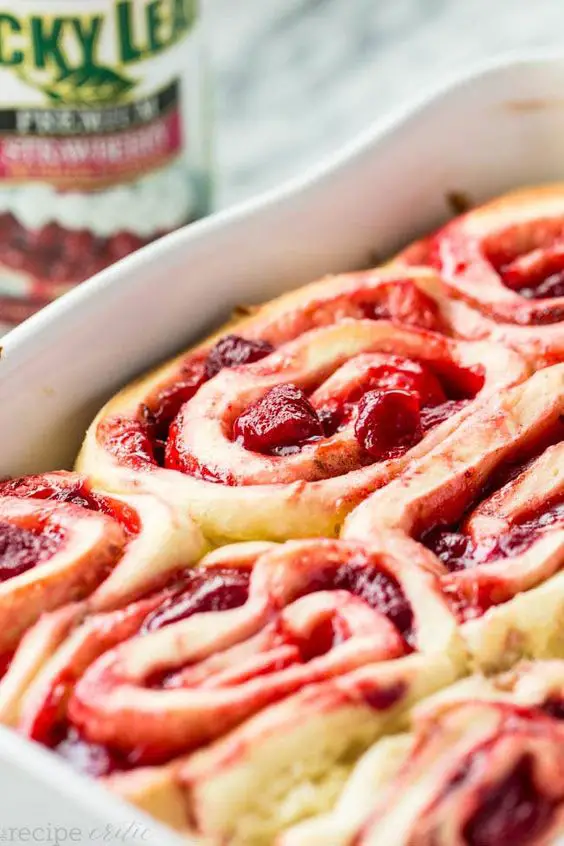
Introduction: Sweet rolls to prepare whether enjoyed as a breakfast indulgence or a comforting snack, these sweet rolls are sure to delight your taste buds with their delicious sweetness and …

Introduction: Vanilla chiffon cake paired with tangy lemon curd for a perfect dessert or teatime treat. This recipe combines the lightness of chiffon cake with the zesty freshness of lemon, …

Introduction Chicken dish with the refreshing flavor of shiso leaves. Shiso, also known as Japanese basil, adds a unique herbal and slightly minty taste to this dish, complementing the savory …
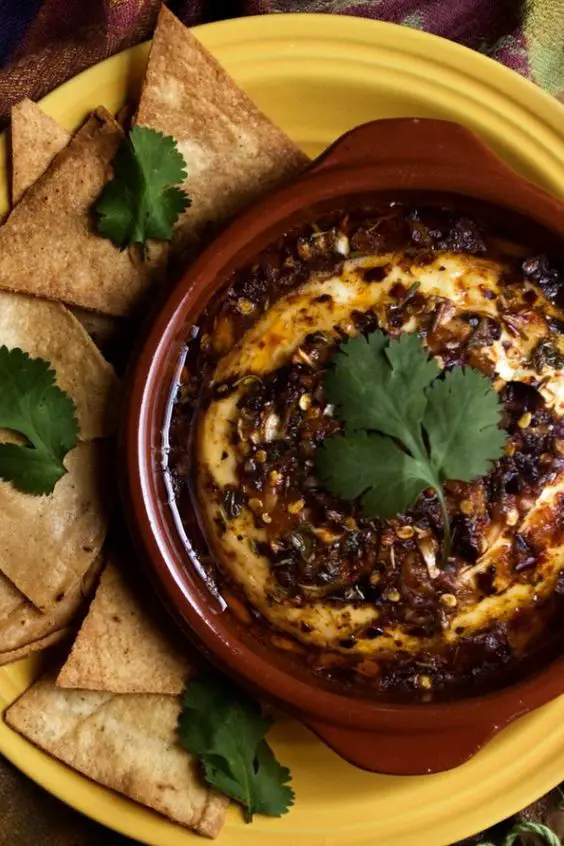
Introduction Baked panela cheese recipe. Panela cheese, with its mild and slightly sweet flavor, is transformed into a warm and gooey delight when baked. Perfect as an appetizer, snack, or …